Home Canning Recipe
for Apricots and Other Fruit
Does your family enjoy canned fruit but you need an effective home canning recipe for apricots and other fruits? Do you want to save money while giving them
this tasty treat while avoiding
the metallic taste, high sugar, and preservative content of many
factory-canned items? Then read on!
This article will give you the information you need to successfully can nearly any kind of fruit that you can buy in the store while saving you money and providing your family with a healthier option for dessert or snacking. I use apricots in this example because that is what I was blessed with this summer, but you can adapt these instructions for peaches or pears as well.
Step 1. Collect your supplies. You will need 2 dozen pint jars with flats and bands, a ladle, a wide-mouth funnel, a jar lifter, 20# of fresh, ripe apricots, a water bath canner, 4-8 cups of sugar, and Fruit Fresh or other brand of citric acid to protect color. It is always safest to use new flats each time you can to ensure a good, secure seal, but you may reuse jars and bands many times. Wash jars and bands, if reusing old jars and check the rim of each with your finger to make sure there are no chips.
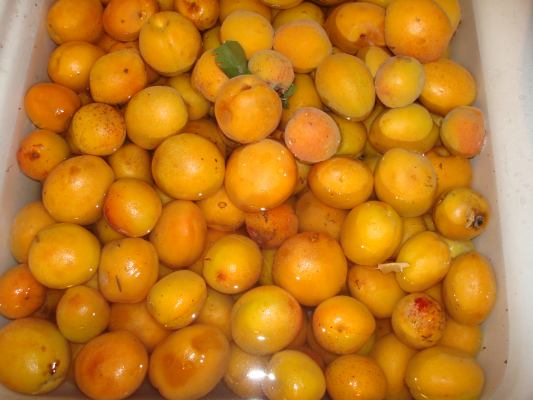
Step 2. Fill your sink or a washtub with apricots and enough water to wash them. Halve the apricots with a sharp knife, following the crease that runs from the stem to the blossom end and around. Remove the pits, reserving enough pits to place one in the bottom of each jar. Carefully trim away any spoiled spots, placing them in a clean bowl. Skin blemishes do not matter unless they have begun to spoil, but you may remove them if you choose. If some of your apricots are too soft or mushy to pack tightly in the jars without destroying the shape, you may set them aside to eat fresh, dry in the sun, or to make into jam or fruit leather.
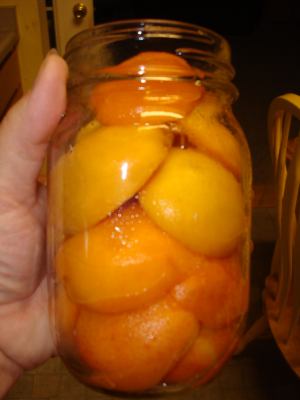
Step 3. Drop one pit in each jar. The pit is not absolutely necessary, but I’ve always thought it improves the flavor of the apricots. Place apricot halves, cut side down in the jars, overlapping and fitting them in as tightly as you can to prevent them from floating too much after canning. Do not allow any of the apricots to rise above the ‘hip’ of the jar…the part of the jar where it comes in before the threads.
Step 4. Prepare your syrup. In a larger kettle, heat 8 cups of water with 6 cups of sugar until the sugar dissolves completely to make medium syrup. To reduce the amount of sugar, you may make light syrup with 8 cups of water and 4 cups of sugar, or heat 2 quarts of apple juice. If you prefer heavy syrup, combine 8 cups of water with 8 cups of sugar. While syrup is heating, place your canning flats in a shallow pan with a little water and warm them to soften the rubber gasket.
Step 5. Place ¼ teaspoon of Fruit Fresh on top of the apricots in each jar, if desired, and using a canning funnel and ladle, fill each jar with syrup or juice to just below the threads. Do not add more syrup because it will just boil out and be wasted. Carefully wipe the rim of each jar with a clean, damp cloth or paper towel to remove any residue that might interfere with the seal. Place one warmed flat carefully, rubber side down, on each jar and screw the band on tightly.
There are only three steps left in this home canning recipe for apricots and other fruits. Is your mouth watering yet?
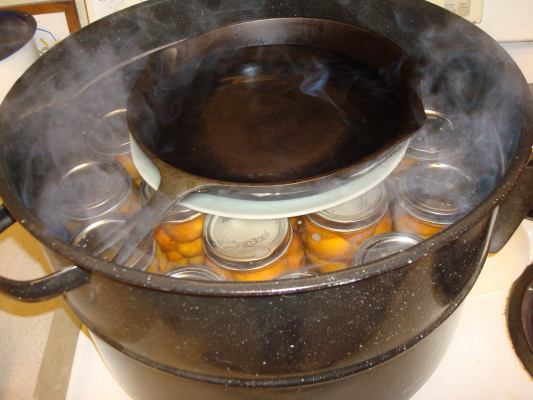
Step 6. Place jars carefully in your canner. If you do not have a wire jar rack, or want to put more pint jars in your canner than will fit in your rack, you may place a hand towel folded into the bottom of the canner before placing the jars. Jars should be touching, but not forced into place. Just arrange them to fit as neatly together as possible. Fill the canner with warm water to cover the jars by about an inch, cover and turn the burner on high. Bring to a boil and boil for 20 minutes before turning heat off. Because I was using pints without a rack and my canner is deep, I placed a plate and heavy cast iron pan in the center to keep the jars from rising up in the water. You could also weight the plate with a brick.
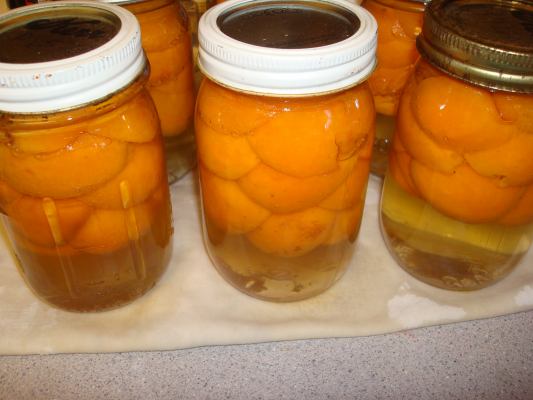
Step 7. If you have a jar lifter, you may use it to remove the jars as soon as the water has stopped bubbling, otherwise, you will need to wait until the water is cool enough for you to reach in with your hand. Place a folded hand towel on the counter and place the jars carefully on it to cool and seal. Try not to bump or disturb the jars in any way until they have completely cooled and sealed themselves. You should hear ‘snap’ sounds as each jar seals itself.
Step 8. Once the jars have cooled, check each jar for a good seal by gently tapping on the lid with your fingernail. If you find a jar that did not seal, place it in the refrigerator and use within 2 weeks. Or, remove the flat, wipe the rim of the jar, and using a new flat, process the jar again to seal it. Remove bands from sealed jars, if desired, and carefully rinse jars & bands in cool water to remove any sugar residue that may have boiled out during processing. Store in a cool, dim location. Canned fruit can be safely stored for several years, although the color may darken with time, and you should check periodically to make sure none of the jars have come unsealed.
Now that you have successfully canned your first batch of apricots, you will have the confidence you need to fill your pantry shelves with home-canned produce, giving your family access to healthy food all year and saving money for other needs.
Of course, you will save even more money if you grow or glean the fruit yourselves and don’t have to buy it. You may find that you can get all the fruit you need from friends’ trees if you offer to can the fruit on shares with them.
I recommend asking your friends to supply the fruit, jars and canning
flats while you supply the labor, giving them an agreed upon percentage of the
finished product. Then use my home canning recipe for apricots here to make an irresistable treat you both will enjoy this winter.
Be sure to share this on your wall and sign up for the newsletter to be notified whenever another great article comes out!
Melody Bold is a canning expert, sharing her experiences with the world as she homeschools and lives the somewhat country life. Visit her Avon website for some great deals to save you money.
Return from Home Canning Recipe for Apricots to
Household Budget Made Easy Home.


